This article takes a look at the simple step-by-step process involved with installing WISER heating controls from Drayton.
WISER is the next generation of smart heating control systems from Drayton. In this guide you’ll find out how to install WISER’s Heat Hub room thermostat and radiator thermostats, and how to set up the intuitive smartphone app.
STEP 1: INSTALLING THE HEAT HUB
If you’re using an existing industry standard wallplate, turn the power off then loosen the securing screws on the old programmer. Check that there is 70mm clearance to the right of the wallplate and 25mm above it. Check the wiring diagram for your product model to compare terminals and, if necessary, change the wiring of the wallplate to suit. If you have an existing wired thermostat, ensure this is disconnected and removed. Now fit the WISER Heat Hub on to the wallplate, tighten the securing screws and turn the power back on.
STEP 2: TESTING THE HEAT HUB
To test hot water and heating override buttons on the Heat Hub, simply press and hold the relevant button for three seconds. This will turn the hot water on for one hour or the heating on for two hours. When the hot water or heating overrides are active a green LED will flash. To cancel the override, simply press the corresponding button again. Cancelling the override will place the hot water or heating back under system control, so, depending on the system settings, the hot water or heating may stay on which will be indicated by a solid green LED.
STEP 3: DOWNLOADING THE ‘WISER HEAT’ APP
To remotely operate the WISER system, download the WISER Heat app from the App Store or Google Play. The app will guide you through the rest of the installation process to connect the Room Thermostats and WISER Heat Hub with the Radiator Thermostats. Once the Room Thermostat and Radiator Thermostats have been added to the system, WISER is ready to control the heating and hot water. The app can be downloaded on additional smartphones by simply using the same login credentials.
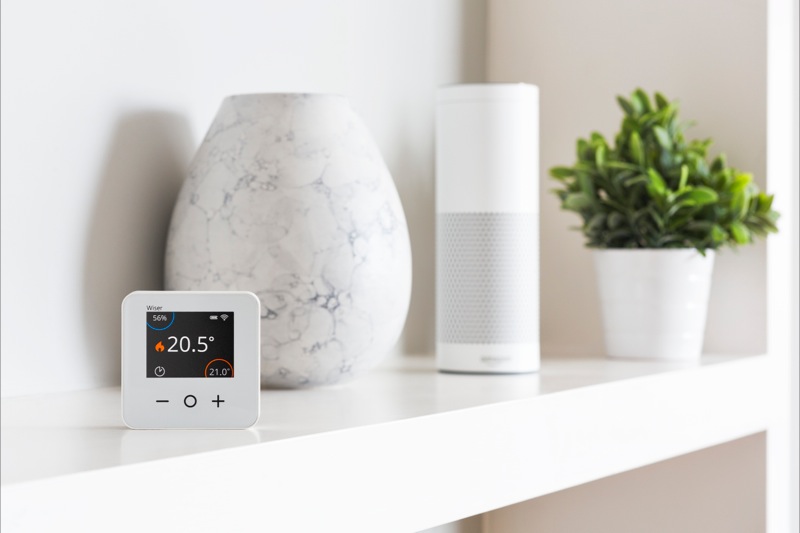
STEP 4: INSTALLING THE WISER ROOM THERMOSTAT
The Room Thermostat can either be fixed to a wall using the included wall bracket or alternatively positioned on the table stand. The thermostat should be placed in a position out of direct sunlight or draughts and in a place where it can respond to room temperature but away from the direct influence of radiators or other appliances that might give off heat.
STEP 5: INSTALLING THE RADIATOR THERMOSTAT
The WISER Radiator Thermostat can be quickly and easily fitted on to existing radiator valves, simply by unscrewing the old TRV head and screwing on the new one. As radiator valve bodies are not all the same, WISER Radiator Thermostats come with two valve adaptors suitable for most installations. Once installed, you can calibrate the Radiator Thermostat by twisting the cap in the ‘—‘ direction for two seconds until the right LED shows a solid blue.
STEP 6: TESTING THE SIGNAL STRENGTH
The signal strength of the Radiator Thermostats can be viewed on the ‘Rooms and Devices’ page in the app. To test the signal on the Room Thermostat simply check the signal strength icon. Two to three bars of signal is recommended to maintain communication with the Heat Hub, if there is no signal, this will be indicated by a periodically flashing red LED on the Room Thermostat. If the signal is low on either the room or radiator thermostat, a signal extender will be needed. These are available through Drayton.


To find out more about WISER or Drayton’s full range of products visit: www.draytoncontrols.co.uk


